

Please excuse the cheesy blog title (although I’m pretty proud of myself there). 😏
Last week I participated in the #colourblockchallenge on Instagram hosted by Angie of Gnome Angel. When Angie started making her Farmer’s Wife quilt blocks, she decided to style them with grouped objects based on the color or theme of her blocks.
As a challenge, she encouraged other IGers to create and share their own styled flatlay blocks. Check out her #colourblockchallenge blog post for some behind-the-scenes photos and tips on how to style your blocks for photos. You can see all the entries from this challenge by searching the hashtag on Instagram.

I submitted a few different blocks for the challenge, but the yellow lemon and floral block was definitely my favorite. So bright and cheery!
As I was digging through my fabric stash on a hunt for all things yellow, I realized two things.
- I hardly have any yellow fabric.
- What I do have, I’ve been hoarding for about 10 years. 😳
I was pretty happy to finally let these guys out of their bins! I chose the three different fabrics pictured below (the left and middle are two of my dacade-ers. The floral on the right is cut from a thrift-sourced vintage pillowcase.

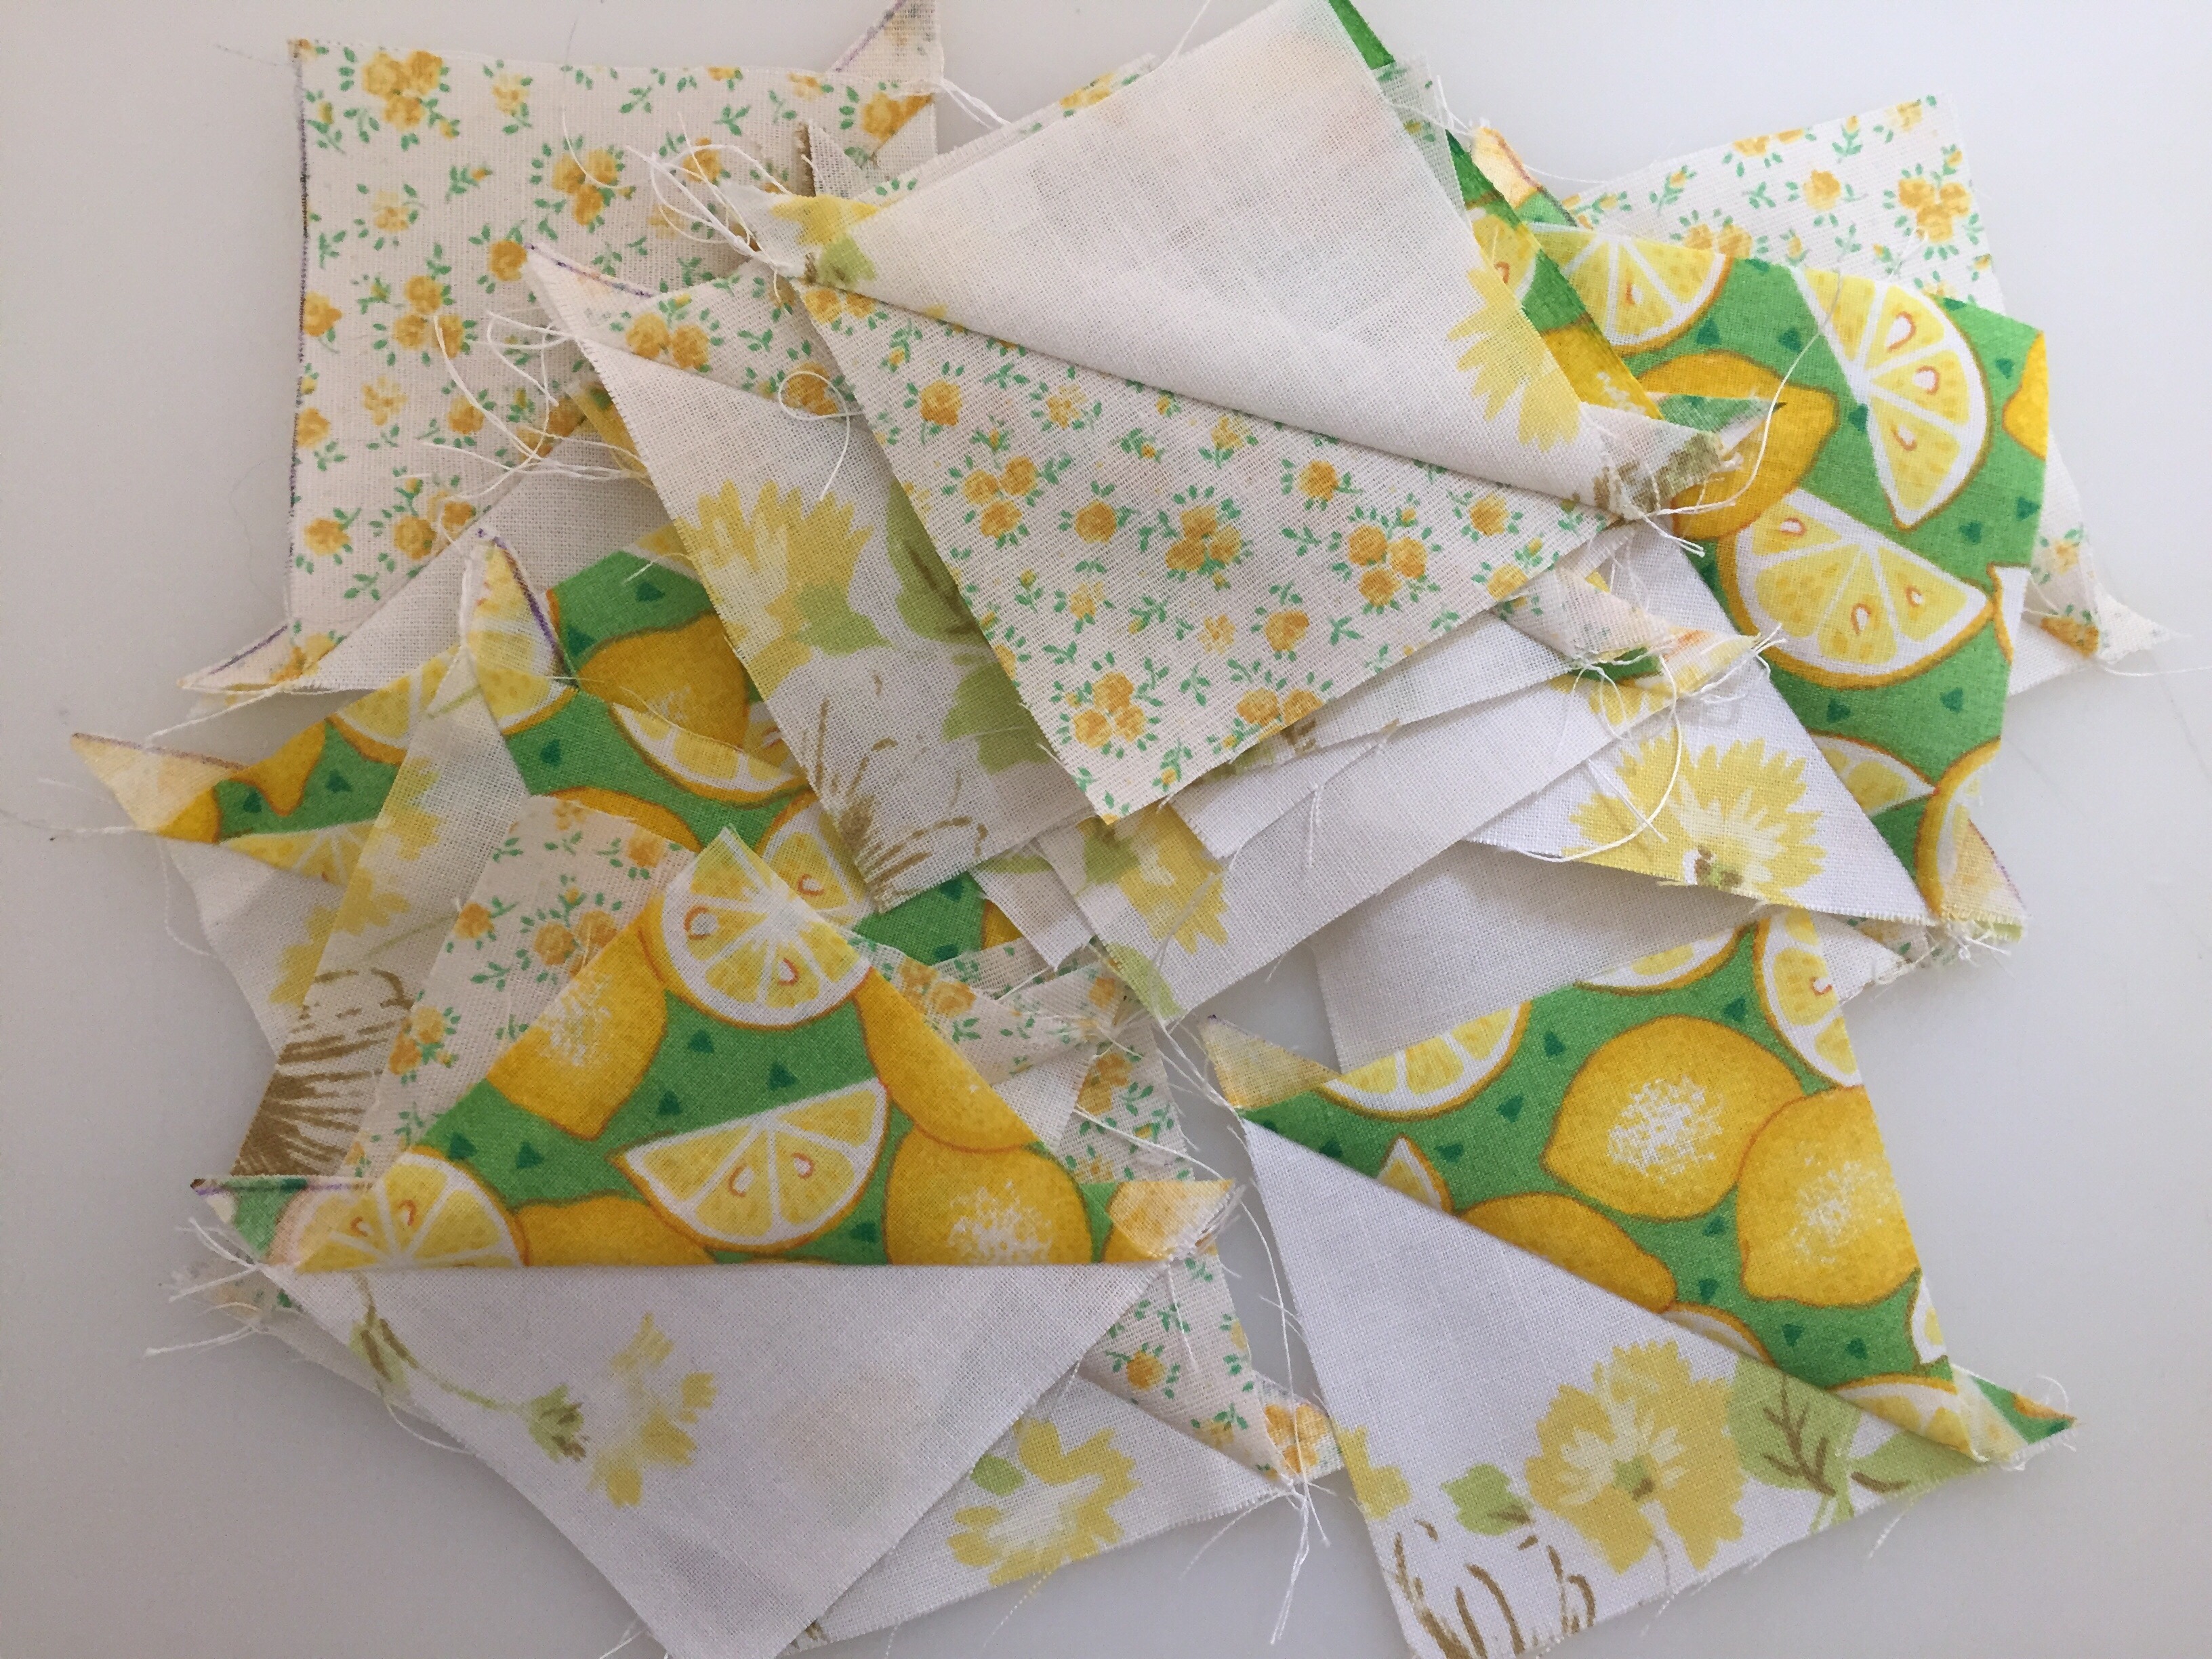
My love for half-square-triangles is for real. 💛

After entering the challenge, I wanted to do something more with my finished lemon block, so I decided to try my hand at making an envelope-back pillow cover. I added bordering strips from some of my upcycled white and yellow linens.
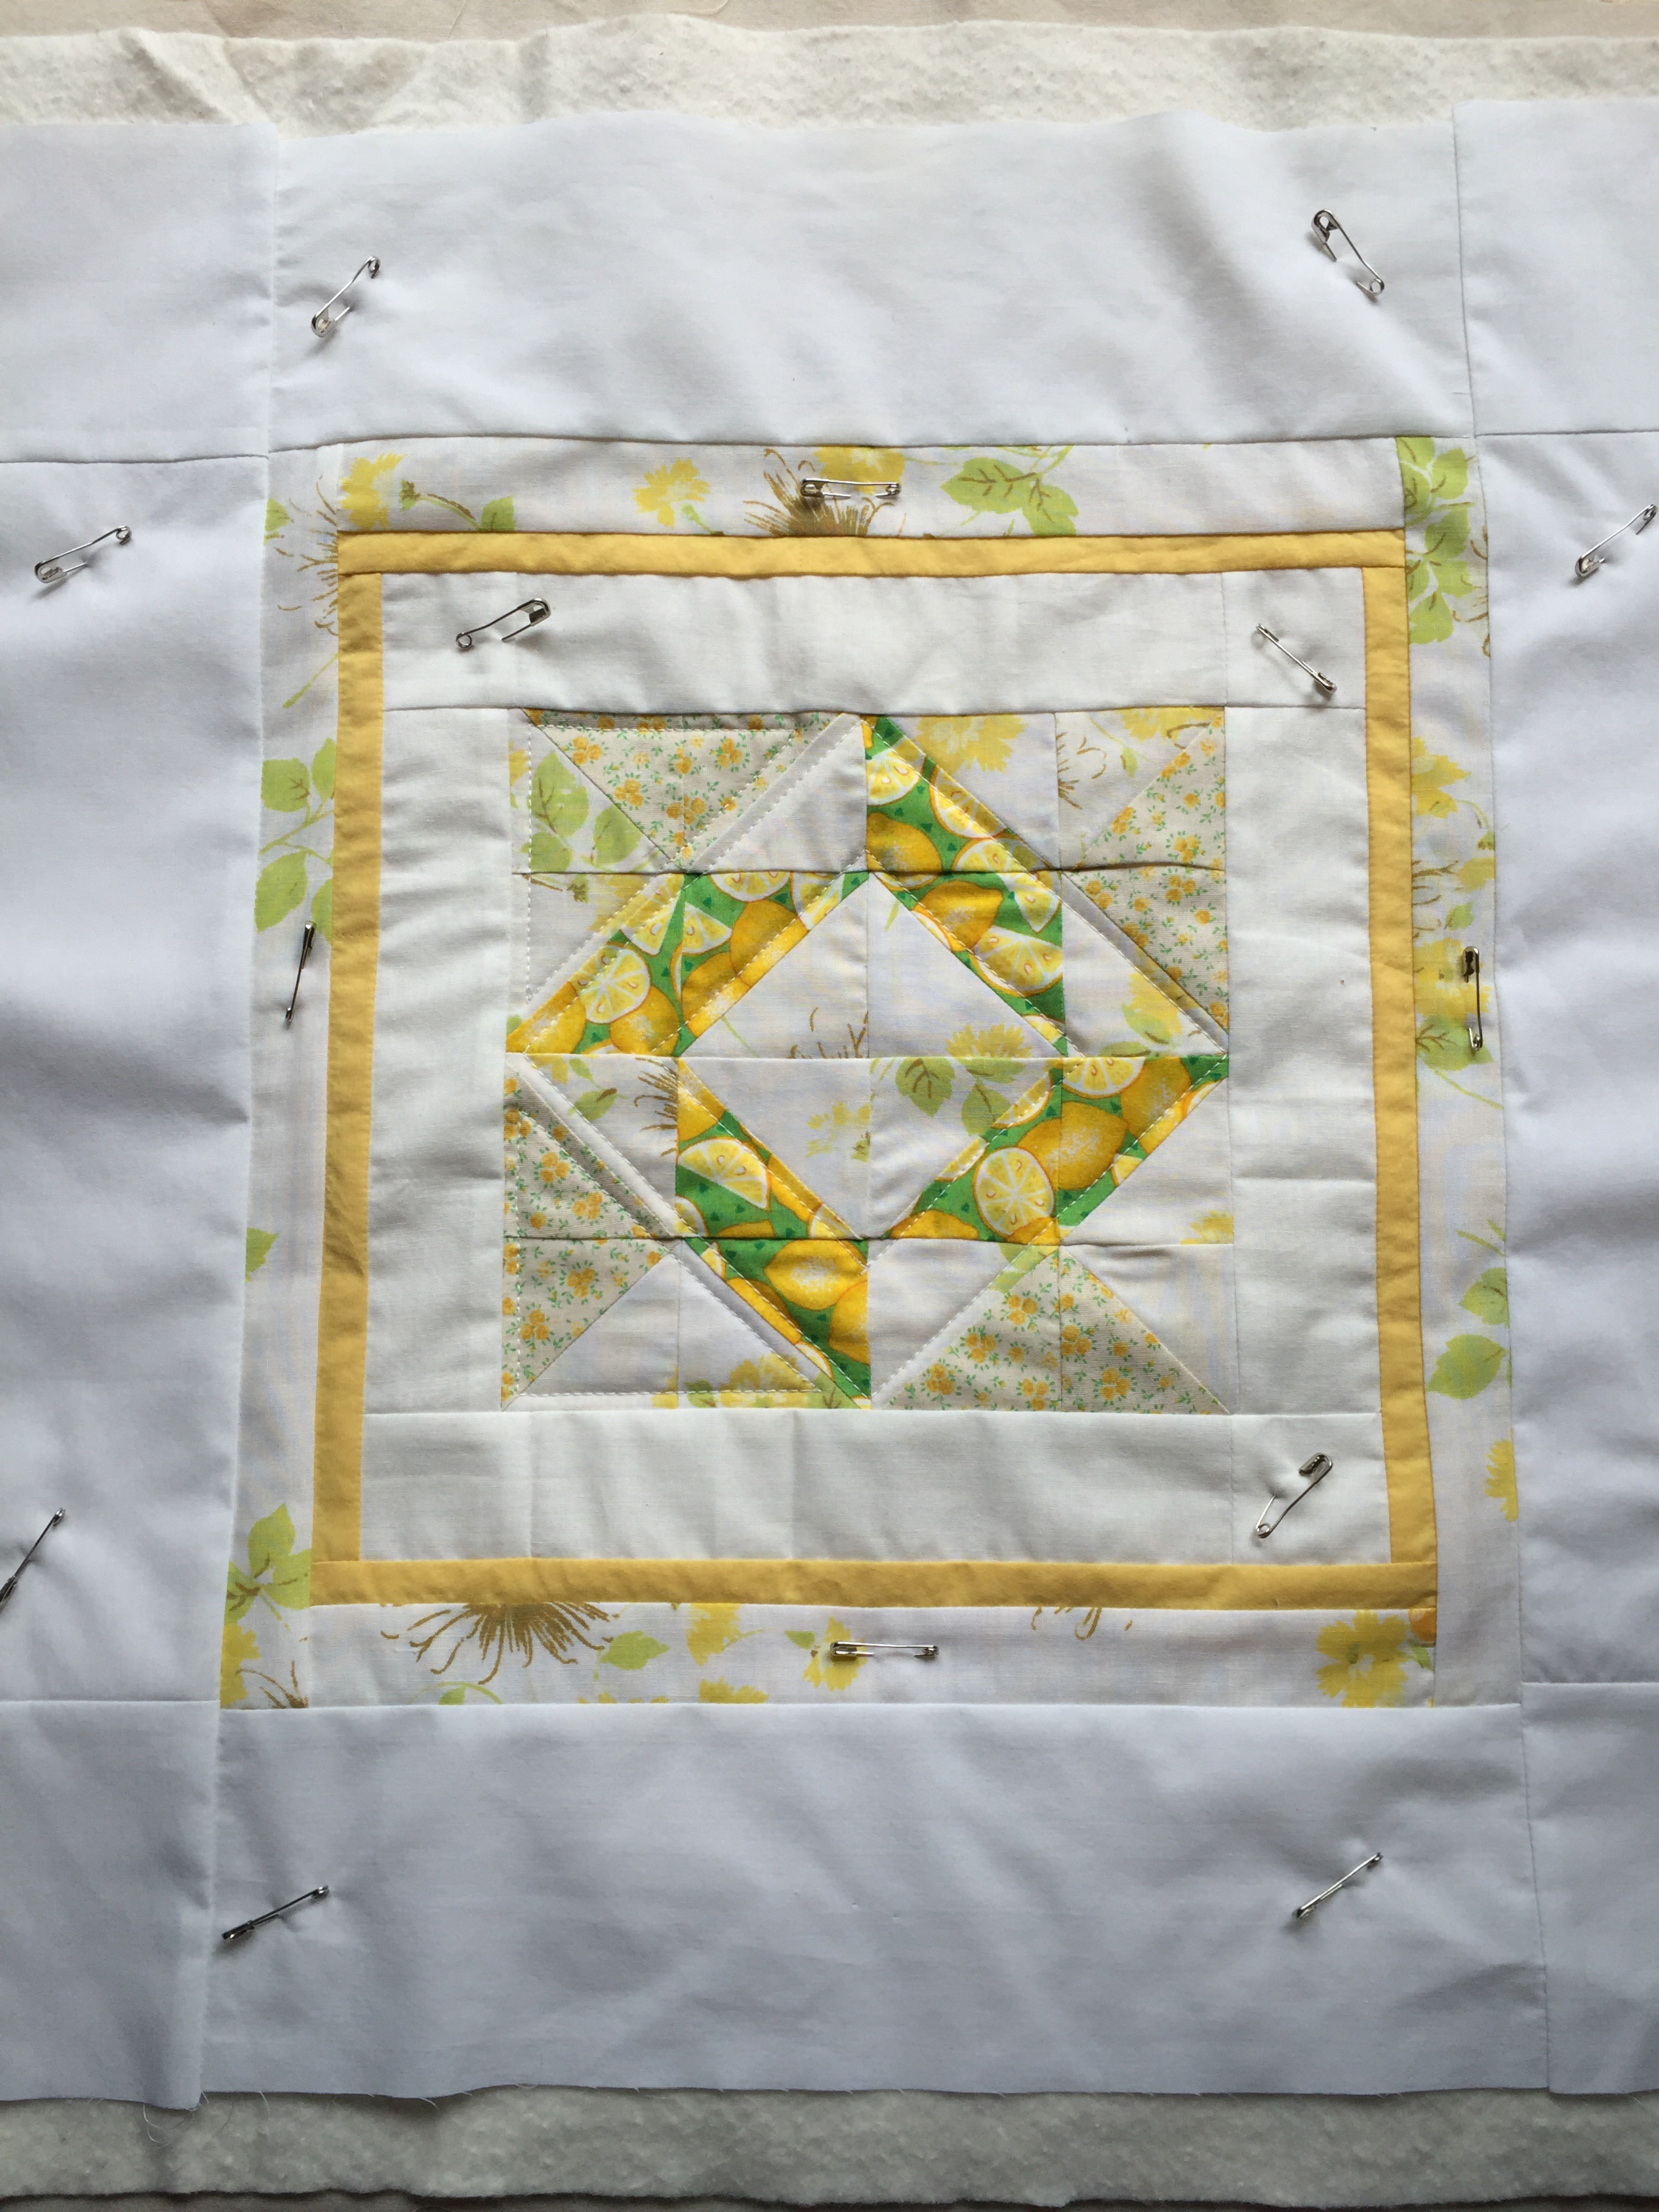
When I went to quilt the front of my pillow cover, I couldn’t find my disappearing ink fabric pen anywhere (emphasis on disappearing?). So, in what you could possibly consider a sewing hack… I quickly baste-marked my outer corners with purple thread. so I could match my corner lines up when sewing.

In staying true to myself – I managed to add a little franken-flair (my inadvertent signature style). I decided to sew piping to the outer edges, but the only cording I could find was a pair of green shoestrings that had been hiding all the way in the back of our top dresser drawer for a couple years now. It worked perfectly other than the fact that it gave the yellow fabric a slight greenish tint – which really isn’t too terribly noticeable if you aren’t looking for it.

For the piping and envelope back, I used this tutorial (with amazingly easy-to-follow instructions) from The Seasoned Homemaker.
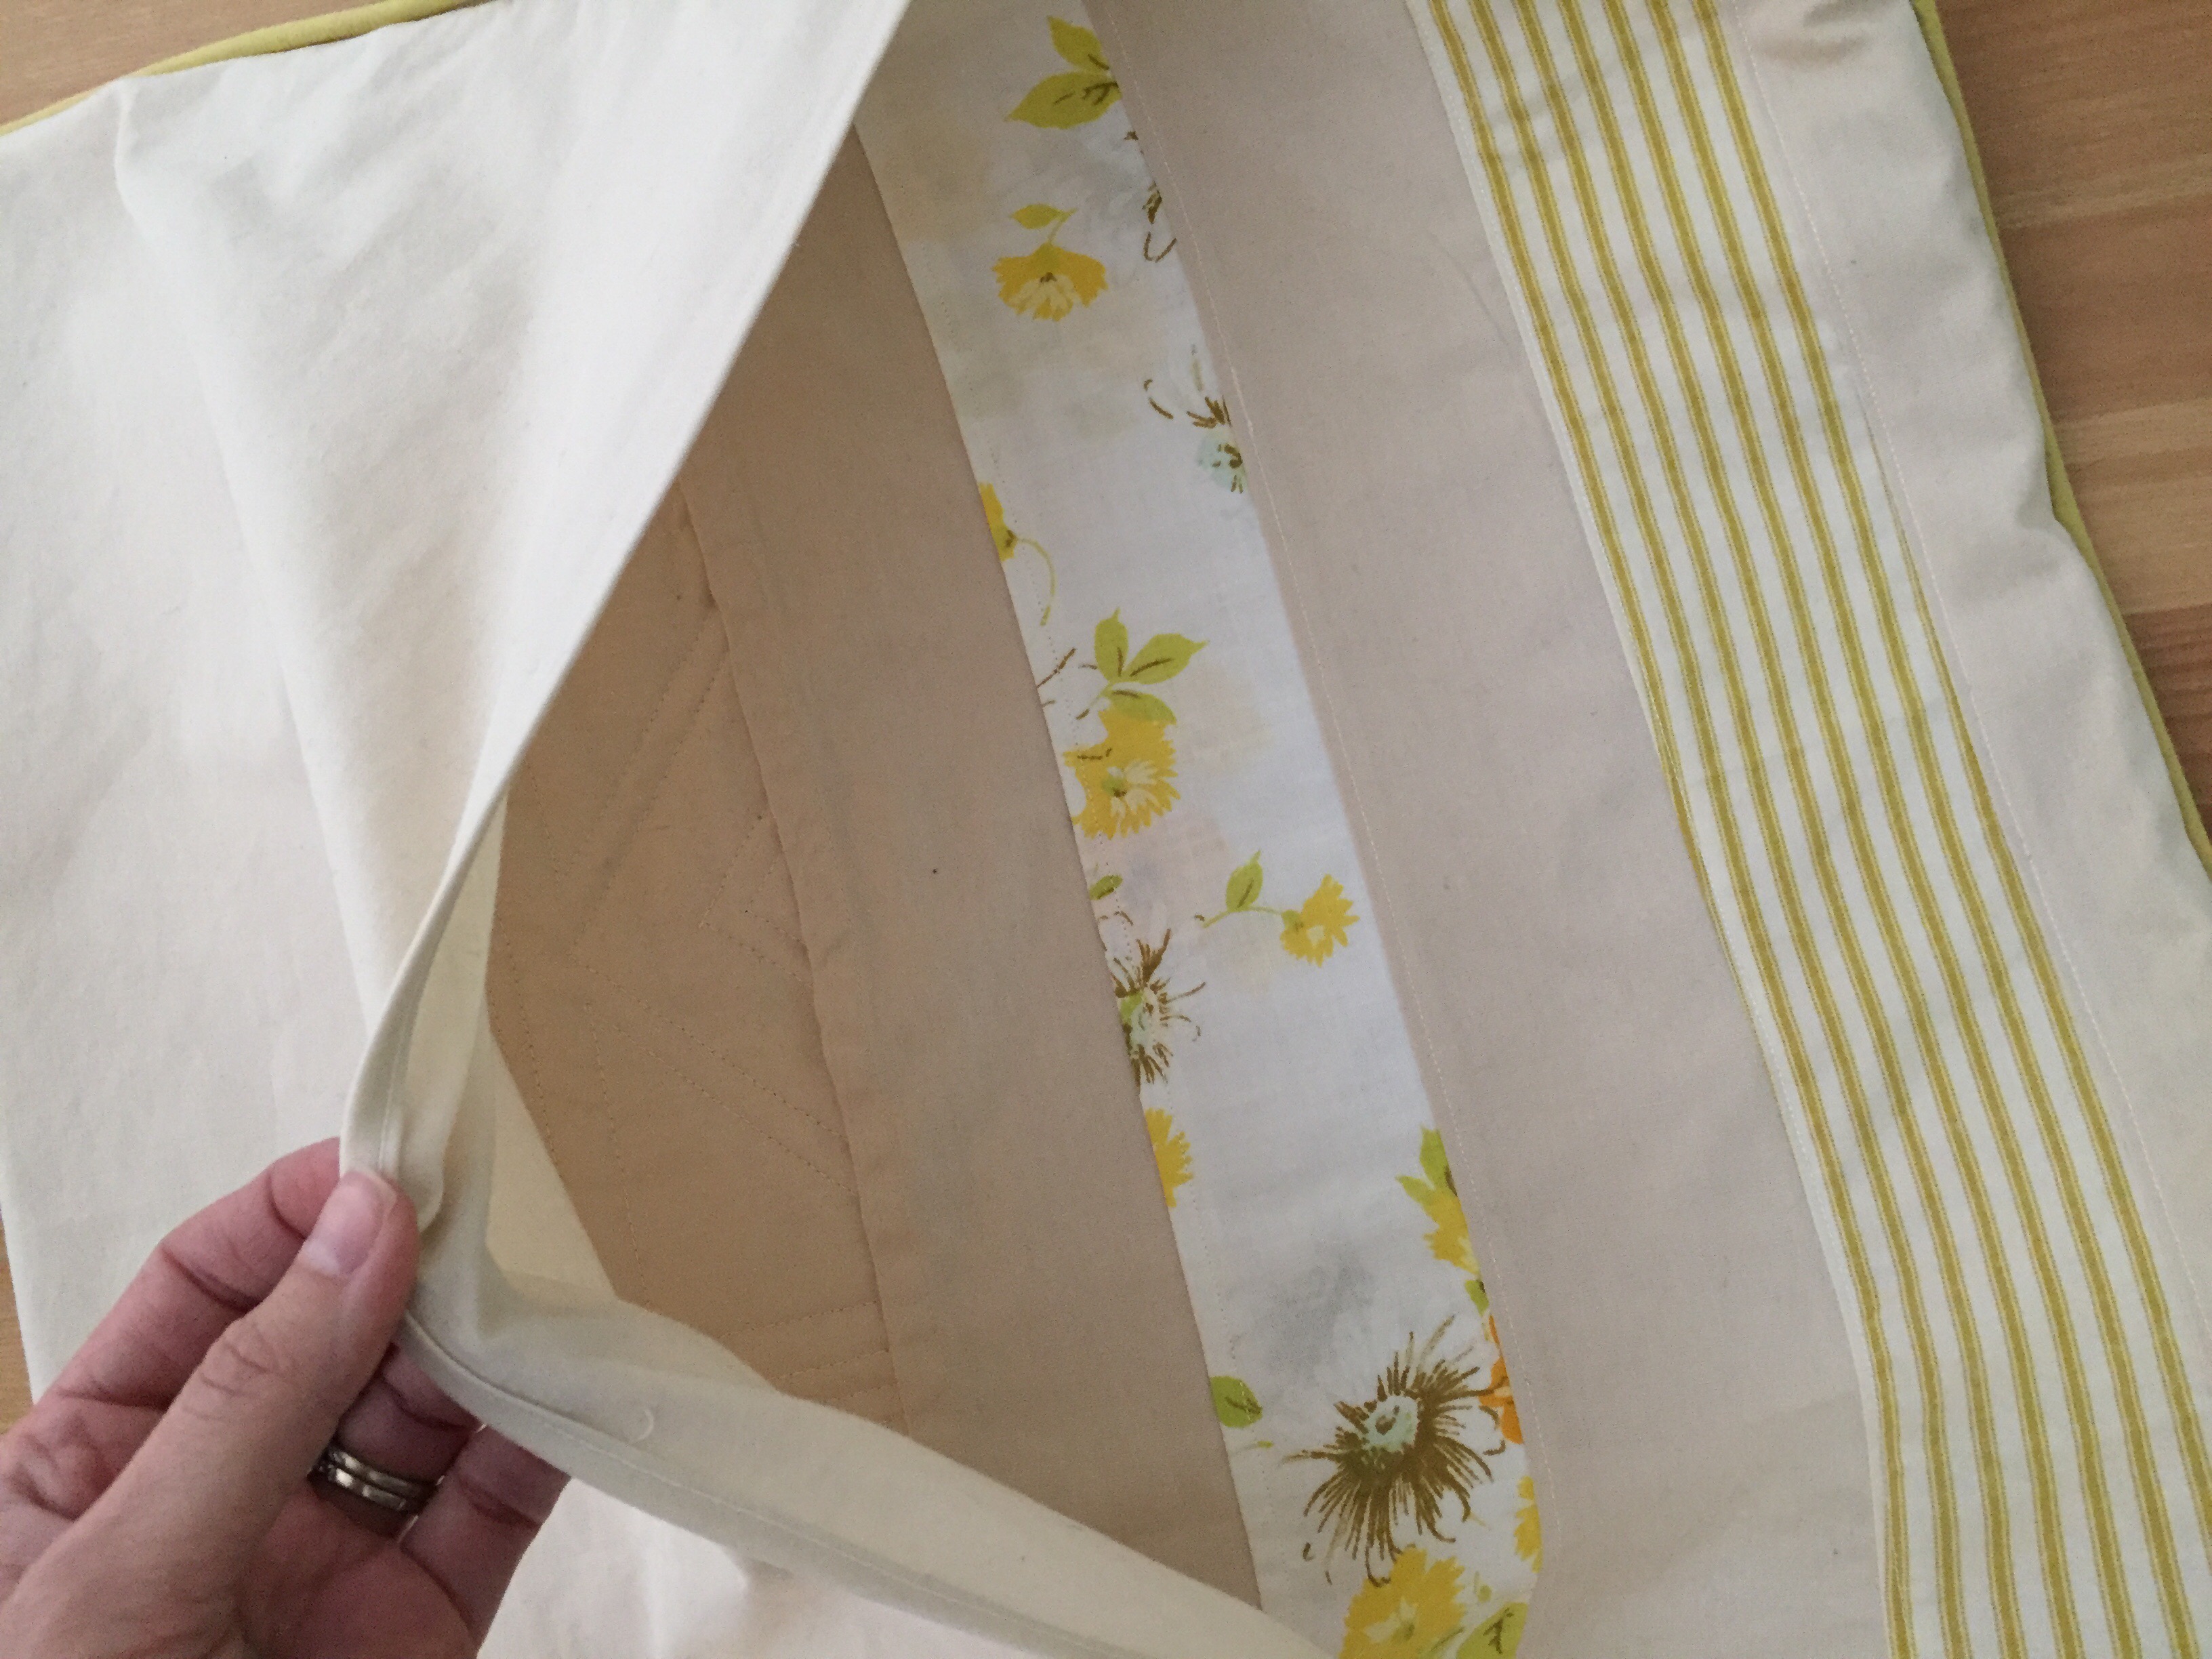
I added a little fabric strip detail to the back, but (hello, me again) I neglected to layer the envelope flaps correctly before sewing and when I turned the cover right-side-out, one of the decorative strips ended up on the inside of the envelope instead of the outside creating a peek-a-boo effect. It’s not what I wanted, but it’s close enough for a first attempt! Lesson learned.

Thinking about making more of these little pretties and REALLY wishing I had some more of that lemon fabric. So good.
xo.a


I love your pillow. It feels so fresh and happy! 🍋
LikeLike
Thanks so much! I wish I could cover everything in lemon print! 😄🍋
On Sat, Sep 3, 2016 at 8:39 AM, Gypsy Moon Quilt Co. wrote:
>
LikeLike
I love this pillow! It’s so bright and colorful and fun! ❤
LikeLiked by 1 person
Thank you, Laurel! 🙂
LikeLike
Great lemony block for the challenge and beautiful pillow! Genius idea marking your corner with the purple thread! Looking forward to being in the new blogger hop with you!
LikeLiked by 1 person
Thanks so much, Paige! It reminded me of how much I dislike hand sewing! 😋 The blog hop is getting pretty exciting – I think we’re going to learn a lot from it! 😄
LikeLike
Wonderful job! I love those color-inspiration pictures!
LikeLike
Thank you! I really enjoyed the challenge (other than the putting-things-back part). 😉
LikeLike
Super pretty!! Isn’t it fun to finally bust out fabric you’ve had in your stash for years?! 🙂
LikeLiked by 1 person
Yes! De-stashing is our friend. 😄
LikeLike
A lovely fresh look, just right for summer.
LikeLiked by 1 person
Thanks! I don’t really use much yellow in my projects, but I think I’m going to be changing my ways. 😉
LikeLike
Love the blog title! And your flatlay is great.
LikeLiked by 1 person
Thanks, Sue! ☺️
LikeLike
Sounds like a good day. Where did the green shoe lace end up? I coul not see it on the pillow case. BTW envelope pillow shams are great. Fast and frugal way to change up any too.
LikeLiked by 1 person
It’s inside the piping – the yellow fabric that runs along the very outer edge of the pillow. It gives the pillow that nice rolled edge look. And I think lots of shams are in my future! 😄
LikeLike